

Technical Articles · Replacement Windows
An original glass window can provide a useful geometry reference. A polycarbonate replacement also needs a review of thickness, support, movement, sealing and surface performance. The aim is a replacement that meets the agreed requirements as an installed assembly.
In this guide
Start with the application: identify the equipment, window position and reason for the material change. Send existing photographs, available dimensions and quantity. Include any required specification, approval or protective function so these can be considered before a material and mounting arrangement are proposed.
1. Separate reference information from design decisions
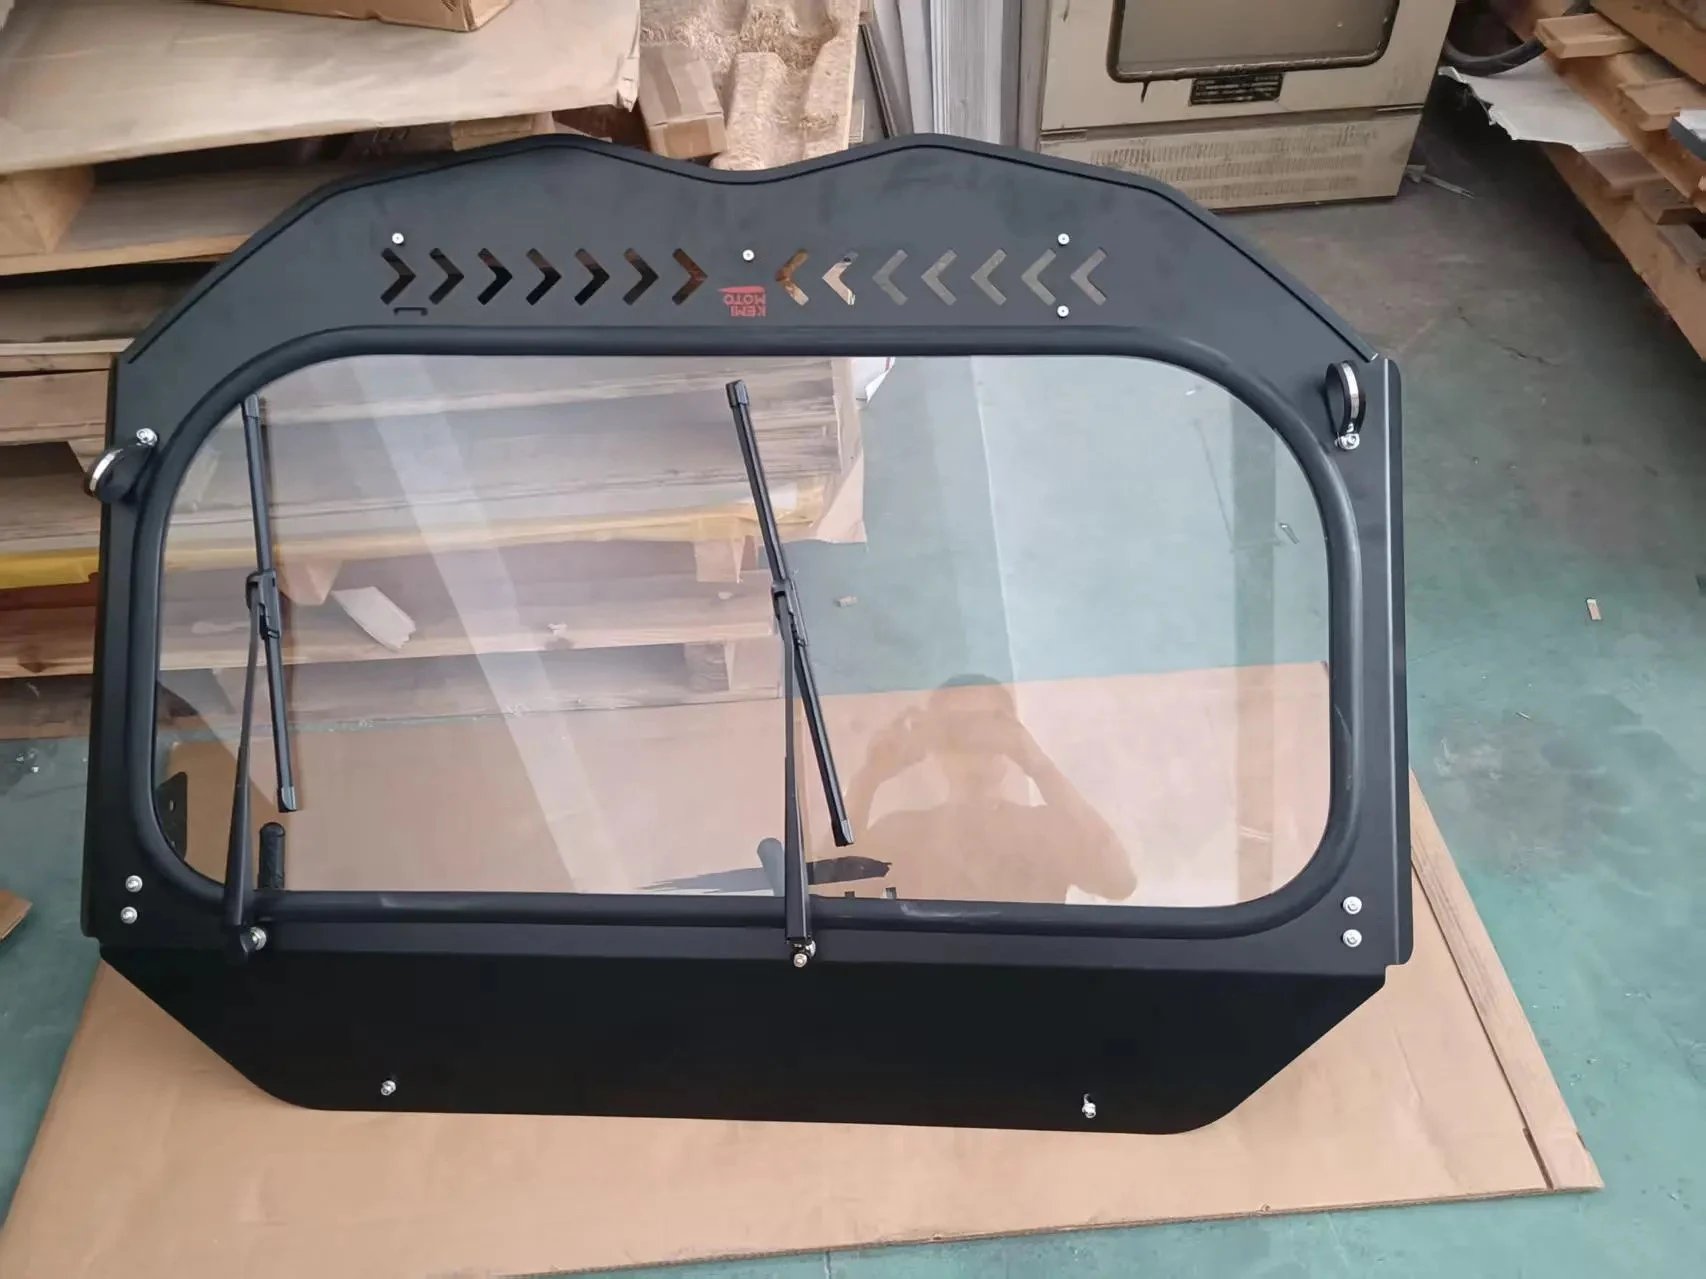
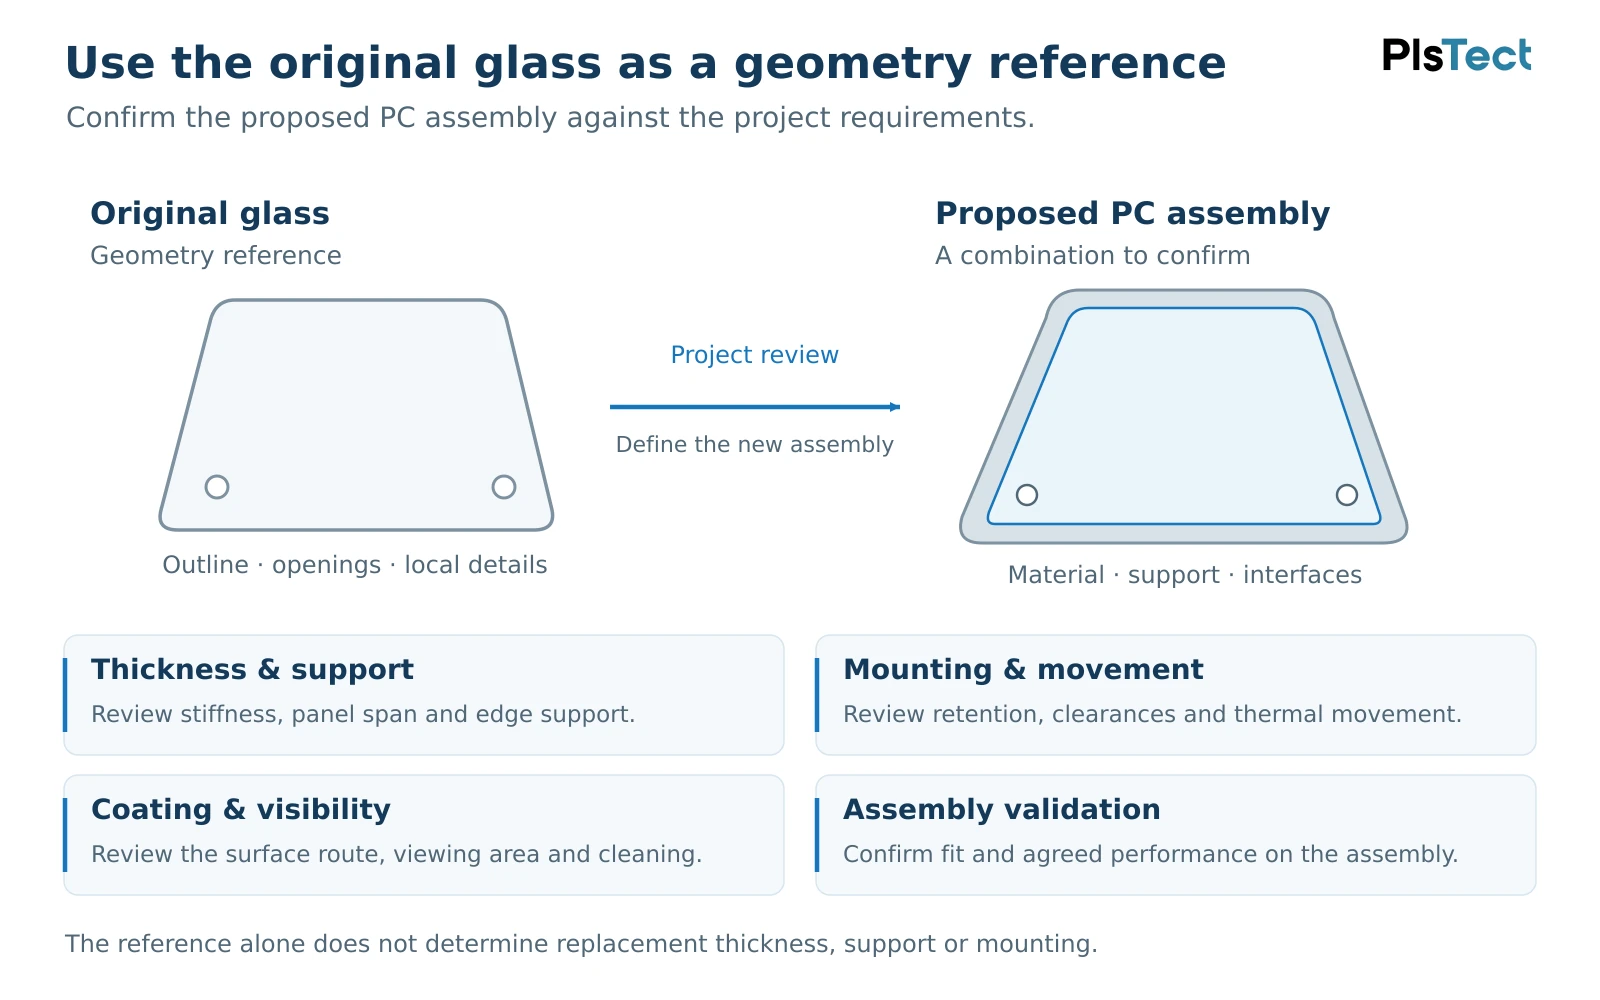
Record the original glass outline, curvature, orientation, holes and relationship to the frame where they can be established. Identify chips, repairs, worn edges and missing areas. Mark uncertain information instead of treating damage or hidden edges as a manufacturing reference.
| Information from the original | Decision for the PC replacement |
|---|---|
| Outline, curvature and orientation | Which geometry to reproduce, with confirmed clearances and tolerances. |
| Glass thickness | PC thickness, support and acceptable deflection for the intended loads. |
| Holes, frame, seals and fittings | Retention, movement allowance, fastening pressure and contact-material compatibility. |
| Viewing area and service history | Optical requirements, coating, cleaning, wiper use and outdoor durability. |
For a confirmed flat panel, the full-size cardboard template guide explains how to communicate its outline. A curved reference also needs its surface shape and measurement state recorded; a flat outline alone leaves that information unresolved.
For the geometry details, see what measurements flat and curved replacement windows need, including the reference face, measurement state and curved-section measurements.
2. Review thickness, loads and support
Impact resistance and bending stiffness describe different behaviours. An impact rating alone cannot establish acceptable window deflection. Manufacturer thickness-selection guidance depends on loading, panel dimensions and the assumed support conditions. [1]
For the proposed assembly, identify:
- The unsupported span, curvature and supported edges.
- The expected pressure, impact or contact loads and their direction.
- The acceptable movement before the panel affects seals, retention, nearby parts or visibility.
Record the original thickness as reference data. Agree the replacement thickness with the mounting design, even if a candidate sheet already fits the existing groove. If the glazing contributes to the surrounding structure, include that role in the responsible design team’s assessment.
3. Check the frame, fasteners and sealing system
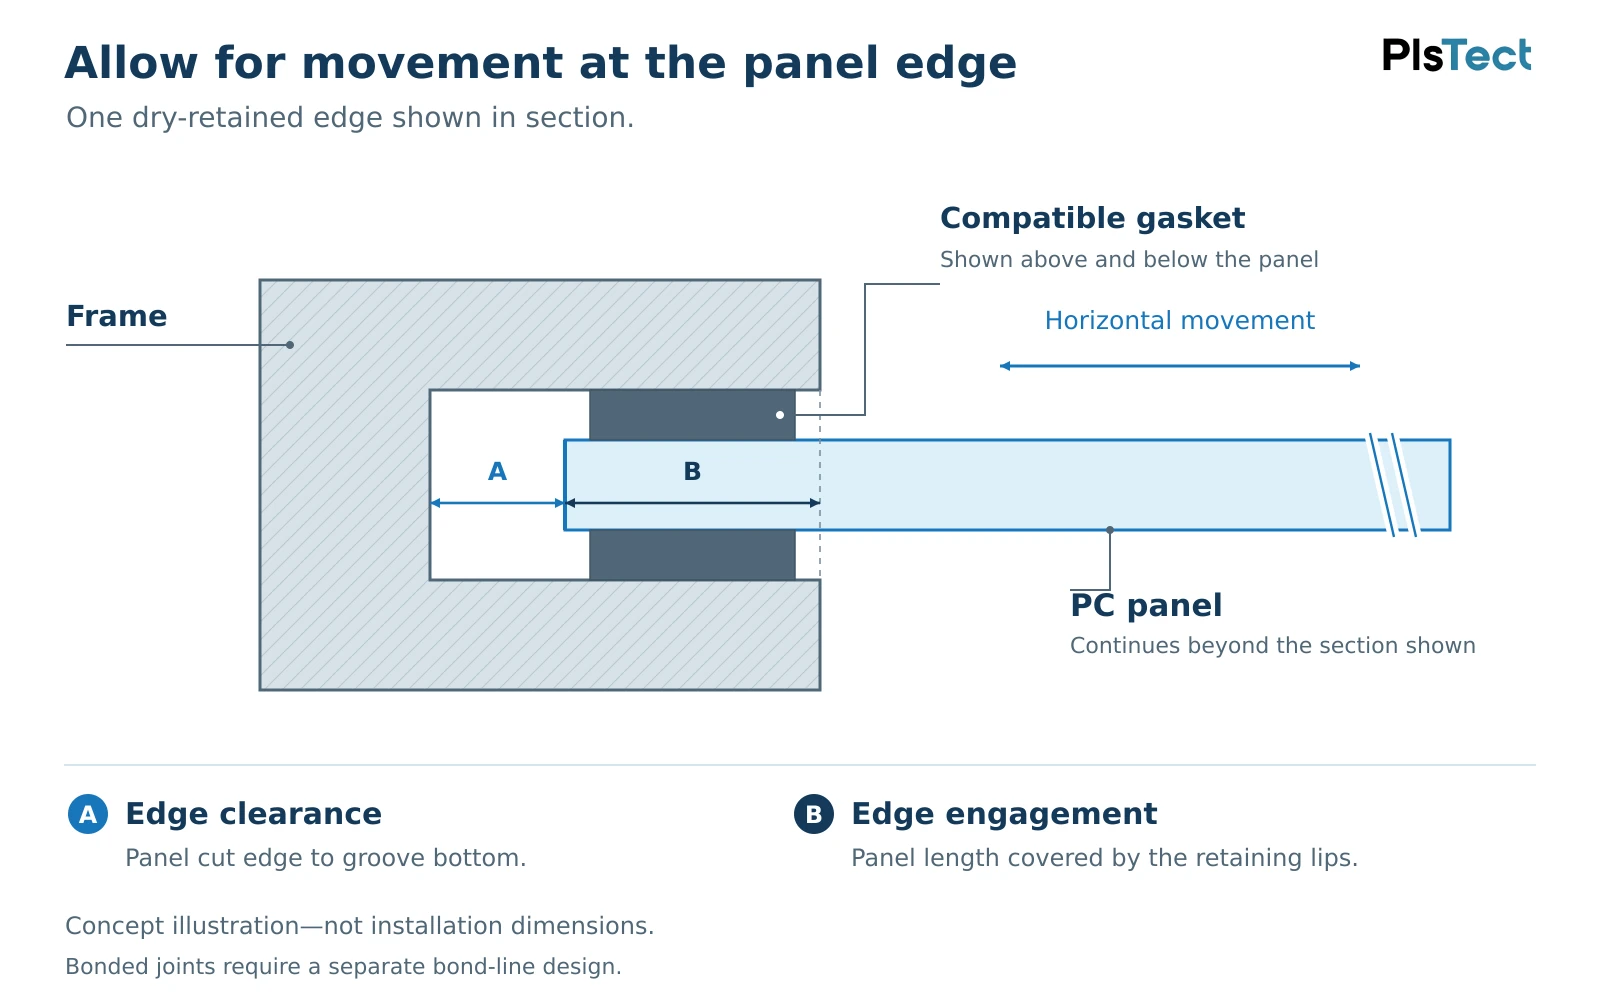
Polycarbonate expands and contracts as temperature changes. A glazing system needs to accommodate that movement while retaining and sealing the panel. Manufacturer installation guidance addresses edge engagement, compatible gaskets and controlled clamping pressure together. [2]
Inspect the actual frame. Record groove dimensions, retaining strips, gasket sections and the space around the panel edge. Edge clearance is the space available between the cut edge and the back of the groove; edge engagement is the amount of panel retained within the frame. Both need review over the intended temperature and load range.
Agree these details for the chosen sheet and mounting system. A generic expansion gap or an unchanged glass gasket does not establish a suitable PC installation.
Review holes and fastening pressure
The original hole centres can be useful references, while hole size, slot shape, edge distance and tightening require separate decisions. TUFFAK fabrication guidance, for example, warns that countersunk geometry can introduce stress in the sheet. [3]
Identify the approved fasteners, contact areas and any required washers or sleeves on the drawing. Confirm how tightening is controlled and inspect machined edges and holes before the installation trial. Review proposed changes before production.
Check the complete bonding and contact system
A glass adhesive specification needs a fresh assessment for coated PC. Sika’s PC/PMMA guidance highlights movement accommodation, unknown coatings, environmental stress cracking and protection of the adhesive bond line from UV exposure. Its named products and application procedure form a specific bonding system. [4]
Give the bonding supplier the actual PC grade, coating, frame finish, primer, adhesive and gasket details. Ask it to confirm joint design, surface preparation, curing conditions and any required light shielding. Resolve printed borders, masked areas and coating boundaries before sampling. Assess compatibility on representative materials; coating removal should follow an agreed process because it changes the local surface protection.
4. Choose the coating and forming route together
PlsTect supports the review of thermoformable anti-scratch coated sheet and coating for formed components. The route needs to match the geometry, viewing area, surface requirements and delivery form.
| Route under consideration | What to confirm |
|---|---|
| Form a suitable pre-coated sheet | Compatibility of the selected sheet and coating with the forming conditions, curvature, tooling contact and required optical area. |
| Coat an already formed part | Access and coverage on the actual geometry, handling, masking and surfaces reserved for assembly. |
Agree which faces and edge zones require treatment and which areas have a different surface specification. Check the finished part after the relevant forming, coating, trimming and drilling operations. A successful flat sample helps with selection; the final shape still needs evaluation.
The guide to pre-coated versus post-form hard coating compares geometry, coating coverage, process handoffs and total project cost.
5. Define visibility and surface use
Mark the critical viewing area and describe what the operator needs to see. Agree tint, light transmission, haze and acceptable distortion for the finished window, including the installed viewing angle where relevant.
Bring service conditions into the coating discussion:
- Cleaning: identify fluids, wiping materials, frequency and contaminants.
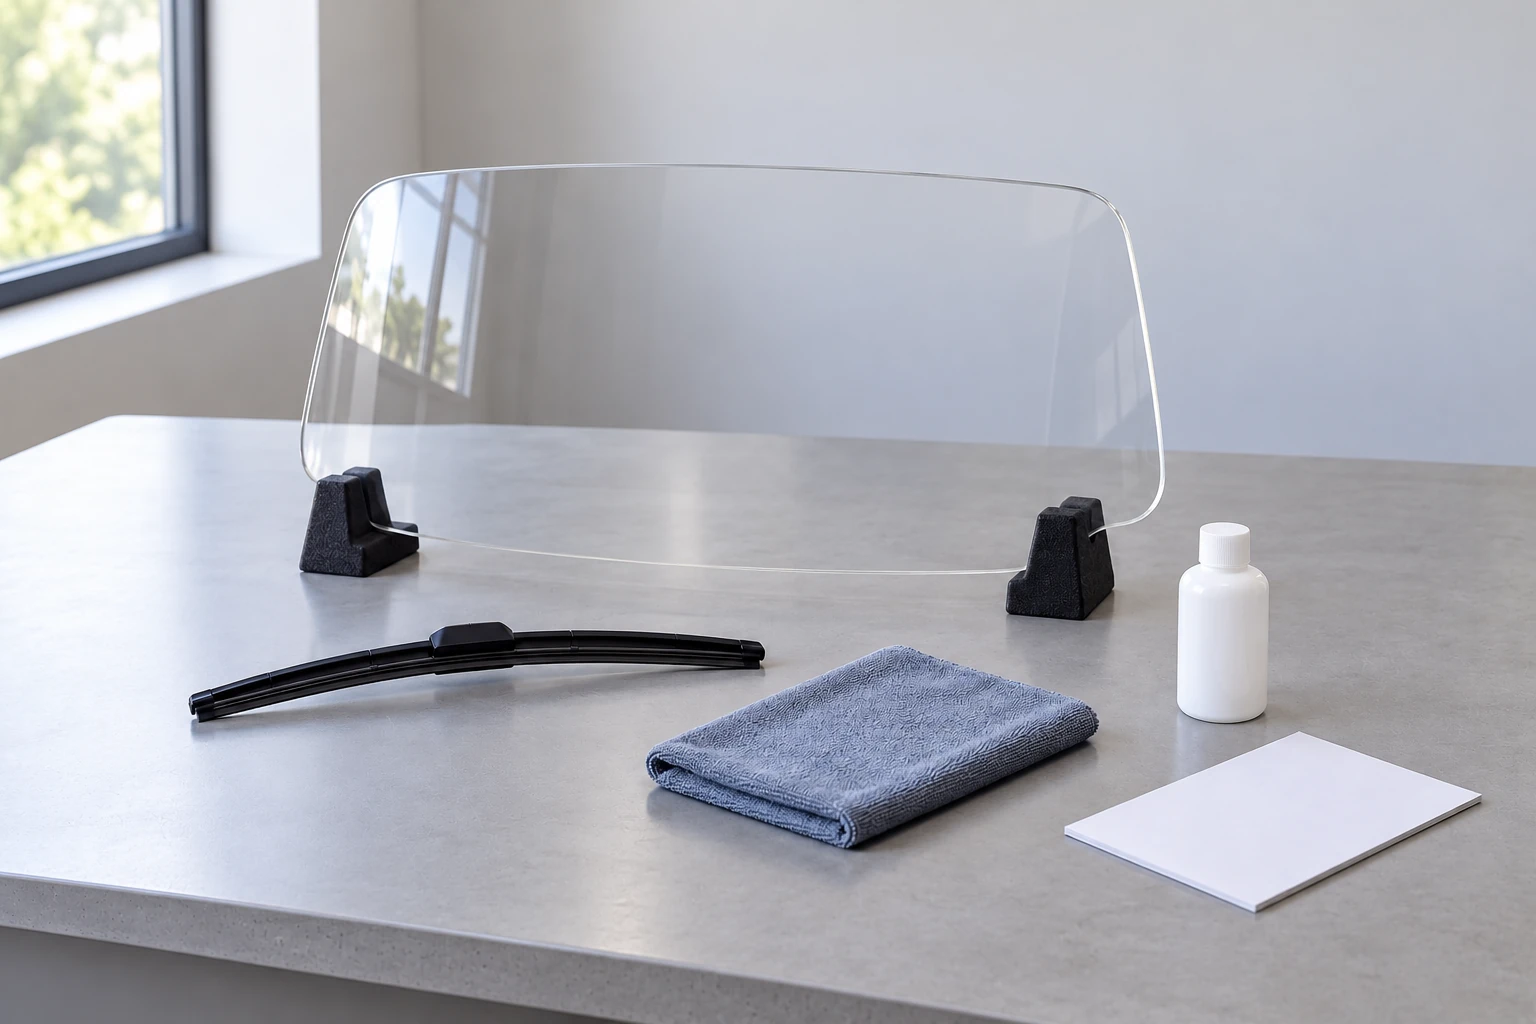
- Wipers: identify the blade, washer fluid, contact conditions and expected use.
- Chemical exposure: include contact at cut edges, holes, seals and coated faces.
- Outdoor exposure: describe sunlight, moisture, temperature range and the changes that would be unacceptable.
A hard-coating description or generic abrasion result does not by itself approve a window for a particular wiper service. Agree a representative evaluation using the intended part and contact conditions. For outdoor projects, use the guide to UV blocking versus weathering to distinguish transmission data from durability evidence.
6. Agree validation before production
Write a short acceptance plan that connects each requirement to the evidence needed:
| Review area | Agree before the trial |
|---|---|
| Geometry | Approved reference, revision, orientation, critical dimensions and tolerances. |
| Assembly | Representative frame, fittings, seals or adhesive system, installation procedure and fit criteria. |
| Performance | Relevant loads, visibility, abrasion, cleaning and exposure conditions, with acceptance criteria. |
| Evidence and approval | Which checks need the finished part or complete assembly, who performs them and who approves the result. |
If the replacement is a formed windshield, review what to check after windshield forming when planning geometry, local thickness, viewing, surface and assembly checks on the finished sample.
For protective functions or application-specific approval requirements, agree the evaluation with the responsible equipment designer, customer or testing specialist. A sheet data sheet and a successful fit check each provide limited evidence. Record trial changes to thickness, holes, seals or coating boundaries so the production configuration follows the approved revision.
What to send for the first review
- Equipment model, window position, quantity and reason for changing from glass.
- Existing photos, dimensions, original thickness and available drawing, sample or template.
- Frame, fixing, seal and adhesive information, with unknown details marked.
- Required viewing quality, cleaning, wiper and outdoor conditions.
- Applicable project requirements, available test information and the planned approval step.
Use the five-part replacement-window quotation checklist to organise the full enquiry. Existing information is enough to start identifying the missing items.
Frequently asked questions
Can PC use the same thickness as the original glass?
Possibly, after review of loads, deflection, support, retention and sealing. Fitting the existing groove is one part of that assessment.
Can the existing seals and adhesive be retained?
Confirm their identity, condition and suitability for the actual PC, coating and frame. Agree the preparation and rebonding procedure with the system supplier.
Does hard coating automatically make PC suitable for wipers?
No. Define the intended wiper service and evaluate the proposed surface with representative blades, fluids, contaminants and operating conditions.
Related PlsTect support: Industrial Equipment Windows · Coating & Forming Review
Further Reading
- Palram — PALSUN Technical Guide, “Determination of Required Sheet Dimensions,” printed pages 14–17. Product guidance showing the load and support conditions behind thickness selection.
- Covestro — Makrolon Technical Manual, hosted by Exolon Group, installation sections 9.1–9.5. Guidance on movement, retention, profiles, gaskets and support for its sheet products.
- Plaskolite — TUFFAK Polycarbonate Sheet Fabrication Guide, “Drilling” and “Glazing.” Product-specific fabrication and installation guidance.
- Sika — PC/PMMA Bonding. A supplier’s vehicle-bonding guidance addressing coatings, joint movement, stress cracking and UV protection.
These sources explain considerations for their own products and systems. Their numerical limits and named installation procedures are not universal specifications for a PlsTect replacement.
Discuss your glass-to-PC replacement
Send photos, available dimensions, quantity and the reason for changing the material. Include the frame, mounting and service conditions you know. PlsTect can review the material, coating and fabrication questions together and identify the next information needed.